KiCAD Projects: DIY Graphic Calculator
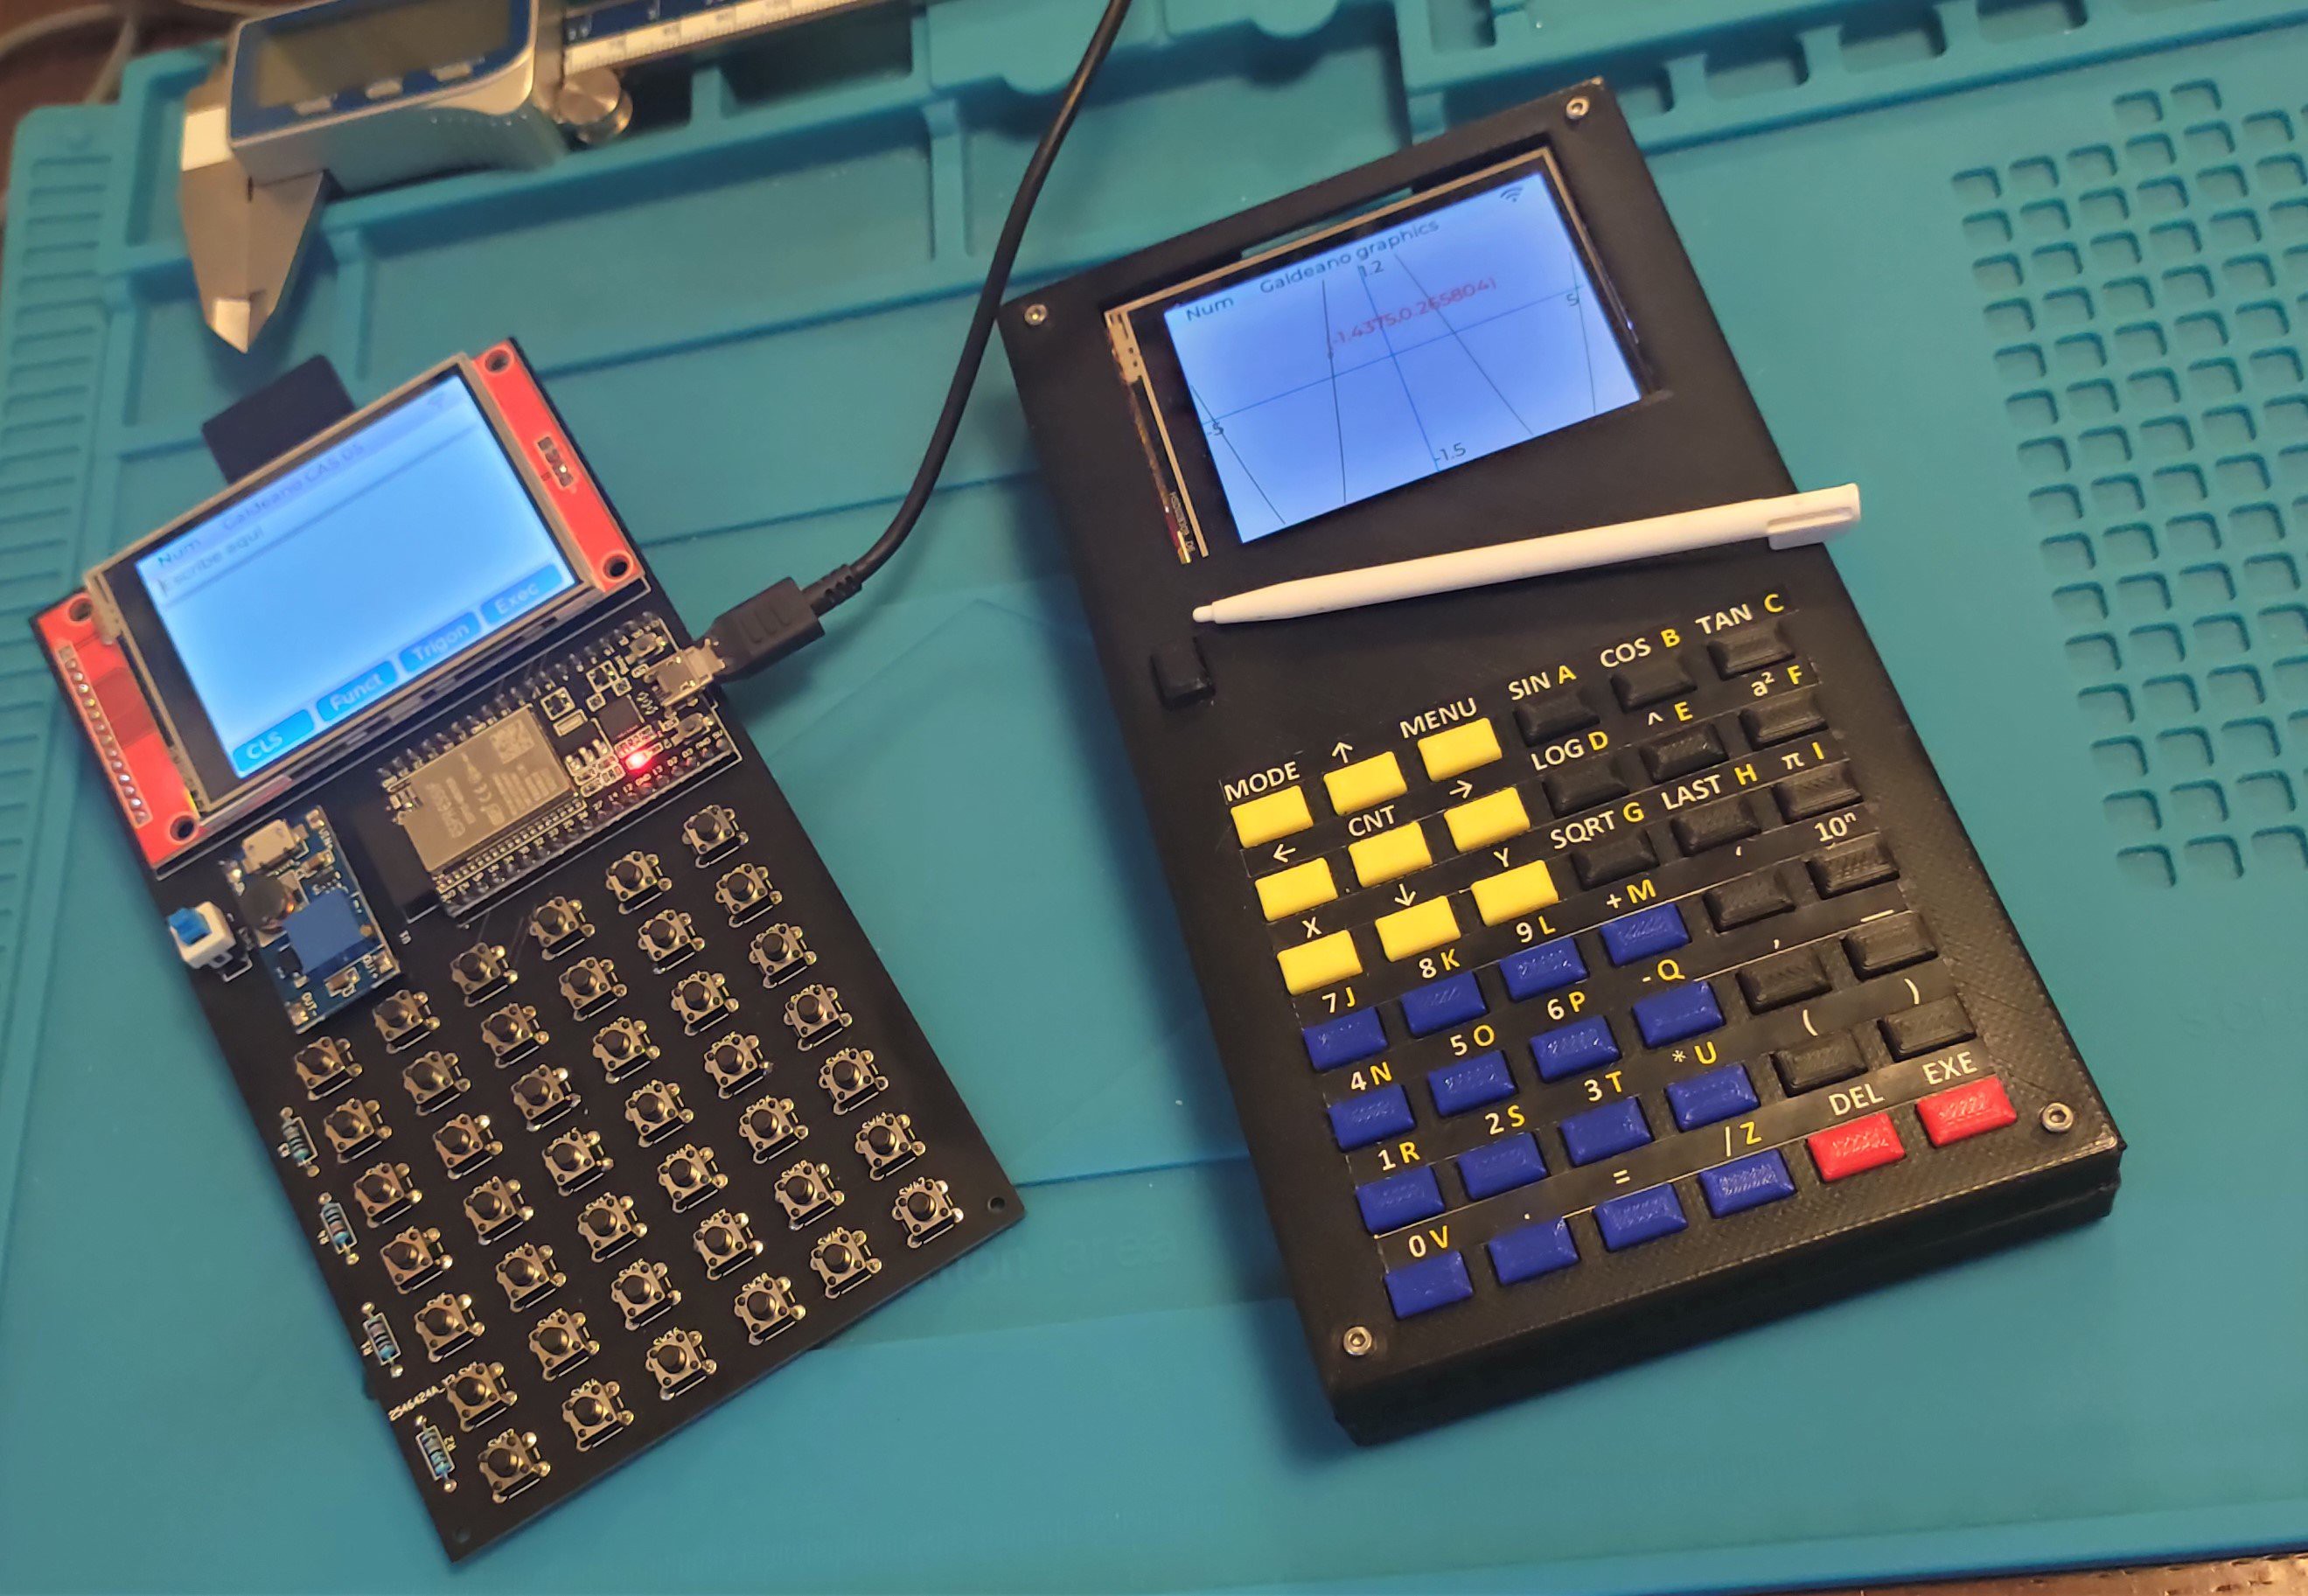
The machine's brain of DIY Graphic Calculator is an esp32 with 4 Mb of SPI RAM. The PCB, like the keyboard, is unique. The ili9341 display (320x240) has a touch sensor (resistance).
It uses a custom micropython distribution with LVGL graphics and an Eigenmath math engine as a module. The program is designed to run in data partitions and is easily customizable and extensible.
We can run a symbolic calculator, a text editor, draw graphic functions, a Hue Philips lights controller, and a custom weight control system for the time being.
Because Micropython LVGL is compatible with Core2, and the Eigenmath math engine has already been compiled for esp32, can our software run on it? How many changes are required to make it work?
The short answer is that it can run. And all we have to do is install a new driver on the keyboard. We use a keyboard with faces. It is a matrix button with a microcontroller that detects when a button is pressed. The software is a little difficult to understand, but it uses an i2c bus to communicate the key pressed. It's also a little tricky because the touchpad sends warning messages when we start the bus (Pin 21 and 22). Because both devices share the same bus, the solution is to initialize the touchpad and copy the buss in order to use it.
It is vital to remove the old keyboard driver because it started all of the IO pins and broke the i2c bus. By scanning the bus, we find the keyboard address, 0x08, and can determine if a key is pressed every 300 ms.
More info how to build this DIY Graphic Calculator KiCAD project, can be found via the link below:
KiCAD Projects: DIY Graphic Calculator


