KiCAD Tutorial: How to add ESP32 to KiCAD

Hello everyone, in this post, we'll be adding a new schematic symbol, PCB footprint, and 3D model view for the ESP32 variant. There are some ESP32s in the default KiCad library, but the variant I want to use, the ESP32-S2-Wroom model, is not one of them. The datasheet for the ESP32-S2-WROOM can be found at the following link: https://www.espressif.com/sites/default/files/documentation/esp32-s2-wroom esp32-s2-wroom-i datasheet en.pdf
The result of adding ESP32 to KiCad should look like this.

Library Download
First, we must locate and download the library containing the schematic symbol and PCB footprint. We can also try to find a 3D model of our component. Everything can be found at https://www.snapeda.com/home/. I was able to download the library with a symbol and footprint after a simple login.

We simply need to select the program we are using, which in our case is KiCad.

Select the 3D model tab and download the 3D model for the ESP32-S2-Wroom.

Add Schematic
Let us begin by unzipping the downloaded zip file, which contains the Schematic Symbol and Footprint.

Let's look at a file called ESP32-S2-WROOM.lib. This is a schematic library with one symbol, not a simple schematic symbol. As a result, we must navigate to Preferences->Manage Symbol Libraries.

Then, as shown in the image below, we must choose to add a library by clicking the Add existing library to table button and then selecting ESP32-S2-WROOM.lib.

This is the first step in adding ESP32 to KiCad, and the result should look like this.


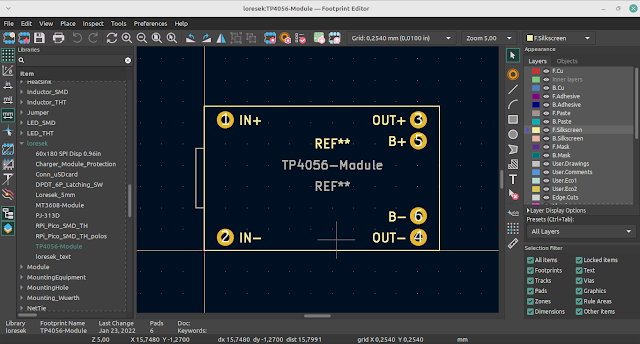
Add Footprint
Go to Preferences->Manage Footprint Libraries.

Choose the folder and click OK. Footprint Libraries should be updated.

Look for the name of the selected folder, and you'll find your ESP32-S2-WROOM footprint inside.

Let's connect the schematic symbol to a footprint by going into the schematic view, selecting the ESP32 symbol, and then symbol properties.

Please include the value of the recently added footprint inside the footprint. and the connection is complete. Then we can update the PCB to show the footprint.

This could be the end of the process of adding ESP32 to KiCad, and you'd have everything you need to generate Gerber files and fabricate PCBs. However, a 3D view is required.
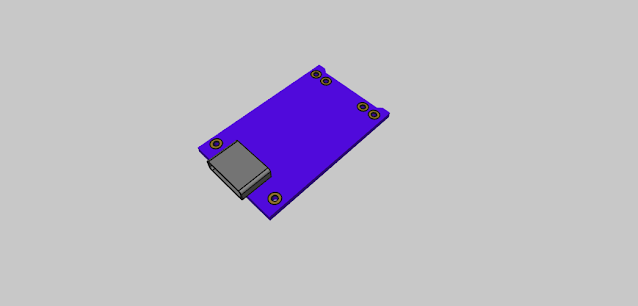
Add 3D model
Select footprint in the PCB editor. Footprint properties should be opened. Choose the 3D Model tab.

Locate the *.STEP file by clicking the plus sign. In this case, we must choose ESP32-S2 WROOM-3DModel-STEP-418109.STEP.

But there's a problem. Our 3D model is incorrectly positioned, and we must correct this. This is a simple fix. Simply multiply the value of -90 degrees by the rotation on the X-axis.

We also have a working 3D model now. The model will perfectly align with the PCB schematic and will provide you with valuable insight into your PCB design.
Last words
This was a quick tutorial on adding ESP32 to KiCad. As previously stated, there are some ESP32 variants in the default library, but I wanted to create this post because this will be a procedure to add any missing symbol, footprint, or 3D model into KiCad.
Did you succeed in adding a new component to KiCad? Please leave a comment and I'll see you at the next one.
[source]