Dive into the World of Cherry MX Ultra Low Profile (ULP) Switches: Resources, KiCAD Footprints, and Custom Keyboard Builds
If you're into building custom keyboards, you’ve probably heard of Cherry MX switches – they’re practically a standard. But there’s an exciting development for designers and keyboard enthusiasts looking to build something sleeker and more compact: Cherry MX Ultra Low Profile (ULP) switches. These are engineered to be as thin as possible, perfect for ultra-slim mechanical keyboard designs without sacrificing the iconic Cherry MX feel.
In this article, we’ll cover Cherry MX ULP switches, their unique features, and the comprehensive resources available on GitHub, which includes KiCAD footprints and 3D models to help you start designing with these switches.
What Are Cherry MX Ultra Low Profile Switches?
Cherry MX Ultra Low Profile (ULP) switches are a variation of the traditional Cherry MX switches, specifically engineered to meet the needs of ultra-thin, portable, or compact keyboards. Compared to standard Cherry MX switches, which can range from 11.9 to 18.5mm in height, the ULP switches have an impressively thin 3.5mm profile, making them one of the slimmest mechanical switches on the market. This ultra-slim design provides keyboard designers with more flexibility, allowing them to create low-profile, lightweight keyboards suitable for laptops, mobile devices, or even custom mechanical builds focused on portability.
Cherry MX ULP switches have a tactile feel similar to their standard counterparts, giving you that satisfying click without taking up too much space. Their low-profile design has opened doors for a new generation of compact mechanical keyboards, making them ideal for anyone who values both portability and tactile feedback in a keyboard.
The GitHub Resource for Cherry MX ULP Enthusiasts
The Cherry MX ULP GitHub repository by pashutk is an excellent starting point for anyone interested in designing or building with Cherry MX ULP switches. The repository offers everything you need to integrate these low-profile switches into your custom keyboard project, including:
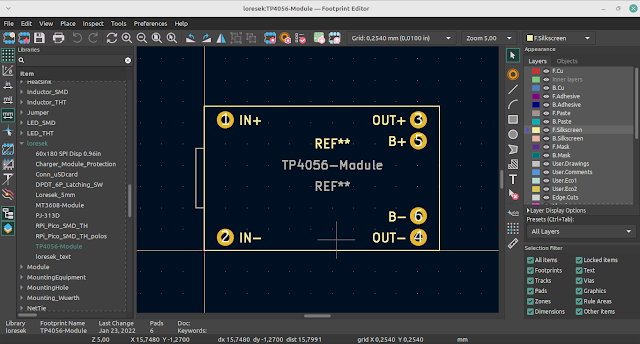
- KiCAD Footprints: Essential for PCB design, the repository includes pre-designed footprints for Cherry MX ULP switches. This allows you to easily place these switches on your PCB layout, ensuring precise alignment and spacing.
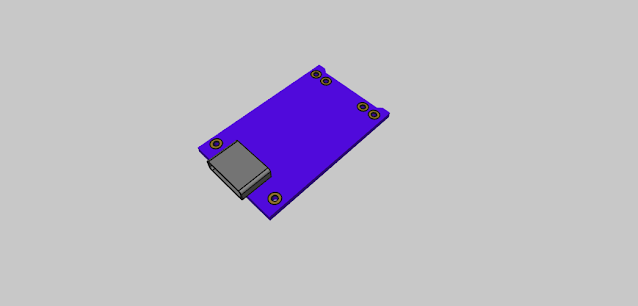
- 3D Models: For those who want a detailed visual representation, the repository includes 3D models of the switches. These models are invaluable when visualizing your project in KiCAD and planning the overall layout and design.
- Documentation and References: Detailed documentation is provided to guide users through the process of integrating these footprints and models into their designs, making it accessible for both seasoned PCB designers and newcomers.
These resources make it far easier to incorporate Cherry MX ULP switches into a custom design, saving you hours of design and prototyping work.
Getting Started with Custom Keyboard Builds Using Cherry MX ULP Switches
If you're new to custom keyboard building or looking to experiment with ultra-thin switches, here’s a quick guide on how to get started:
Set Up Your KiCAD Environment: Start by downloading and installing KiCAD if you haven’t already. KiCAD is a powerful, open-source PCB design tool widely used by electronics designers.
Download the GitHub Resources: Clone or download the Cherry MX ULP GitHub repository. Extract the files and locate the KiCAD footprints and 3D models you’ll need.
Import the Footprints into KiCAD: In KiCAD, open your project and import the Cherry MX ULP footprints from the downloaded files. This will allow you to place Cherry MX ULP switches on your PCB layout with ease. Proper footprint placement is crucial for stability and functionality, so ensure that each switch aligns well with your design.
Visualize with 3D Models: Use the 3D models provided in the repository to check the fit and alignment of the switches within your overall design. This step can be helpful to confirm spacing, especially in compact builds where every millimeter counts.
Design Your PCB Layout: Now comes the fun part – designing your layout! The ultra-low profile of these switches gives you more freedom to experiment with slim or even unique keyboard form factors.
Fabricate and Assemble: Once your design is complete, you can send your PCB layout to a fabricator and assemble your custom board once it’s back. With the ULP switches, you can achieve a low-profile build that’s portable and stylish.
Why Choose Cherry MX ULP Switches for Custom Builds?
Cherry MX ULP switches offer a unique combination of tactility, portability, and design flexibility. Here’s why they’re a great choice for custom keyboard projects:
- Ultra-Slim Profile: Perfect for compact or minimalist designs, these switches allow you to create keyboards with very little bulk, making them ideal for travel or mobile setups.
- High Durability and Quality: Like other Cherry switches, ULP switches are built to last, rated for millions of keystrokes.
- Improved Aesthetics: For those who appreciate sleek, modern builds, the ULP switches let you create visually appealing designs that stand out in the mechanical keyboard world.
Final Thoughts
Cherry MX Ultra Low Profile switches are an exciting option for anyone looking to experiment with slimmer mechanical keyboard builds. The GitHub repository by pashutk provides all the essential resources needed to integrate these switches into your custom design, from KiCAD footprints to detailed 3D models. By leveraging these tools, you can focus on bringing your keyboard design to life without getting bogged down in the finer details of switch integration.
Whether you’re an experienced keyboard builder or a newcomer to the scene, this resource opens the door to endless possibilities for ultra-slim mechanical keyboards. So, head over to the Cherry MX ULP GitHub repository, download the tools, and start building your next low-profile masterpiece!


